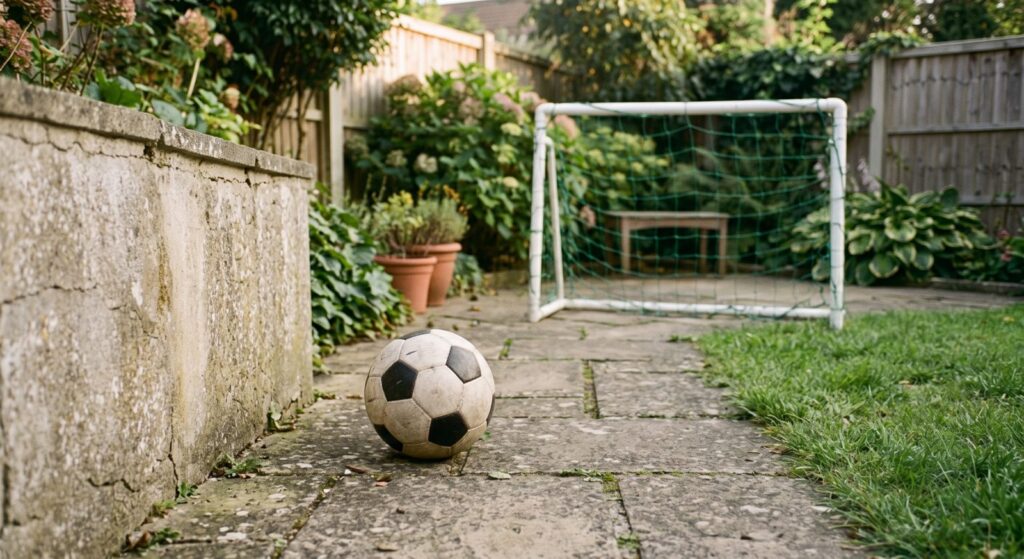

You don’t need a real goal to practice shooting. All you really need is a target, and the simplest one is two objects spaced apart, forming a small gap you have to hit. I usually set up two “mini goals” this way, side by side, and shoot from around 8 meters or more. It’s not exactly like shooting past a goalkeeper, but it forces the same thing that matters most: hitting a specific spot on purpose, not just kicking the ball hard.
What You’ll Need
A ball (ideally more than one, to avoid constantly retrieving it), two pairs of objects to mark small goals — cones, shoes, water bottles, whatever you have — and about 8+ meters of space to shoot from.

Setting Up Your Mini Goals
Place two objects a meter or so apart to form one small goal, and set up a second one the same way a bit further along. Having two targets instead of one gives you options: you can alternate between them, aim for a specific side, or use one for straight shots and the other for a different type of strike. If you don’t have enough balls to keep shooting without stopping, setting up a couple of these mini goals in different spots also means you can shoot again from wherever the ball ends up, instead of walking all the way back to your starting point every time.
1. Basic Flat Shots, Both Feet
Start with straight, flat shots aimed at one of the mini goals, using your strong foot first and then switching to your weak foot. The gap between feet tends to be significant here — the strong foot usually finds the target without much thought, while the weak foot needs real concentration to hit the same spot. Don’t skip the weak-foot reps, even if the accuracy is rough at first.
2. Outside-of-the-Foot Shots
Once flat shots feel comfortable, try striking with the outside of your foot instead of the inside. This one takes more control to get consistent — it’s easy to under-hit or mis-hit the ball until you find the right contact point. If it feels shaky at first, that’s normal; it’s one of the harder techniques to groove on your own.

3. First-Time Shots Off a Wall Rebound
If you have a wall nearby, pass the ball against it and shoot at your mini goal on the first touch, without controlling it first. This is one of the more demanding drills on this list — you have very little time to adjust your body, and any inconsistency in the rebound makes it harder to hit clean. It’s especially tough when the ball comes back bouncing rather than rolling, since you have to strike it half-volley instead of off the ground, which takes more timing than power.
4. Control With One Foot, Shoot With the Other
When the ball comes back off the wall, control it with one foot and finish with the other. This adds a decision-making step — which foot takes the touch, which one shoots — instead of falling into a repetitive pattern, and it’s a more realistic sequence than always shooting with your first touch.
5. Shots With Curve
Try adding curve to your shots by striking across the ball instead of straight through it. This is genuinely difficult to control alone, and it’s fine if it takes a while to feel consistent — it’s less about getting it right immediately and more about building a feel for how different contact points bend the ball’s flight.
Common Mistakes to Avoid
Only shooting with your strong foot. As with most solo drills, the weak foot is the one that needs the reps, even though it’s tempting to stick with what already works.
Chasing power over accuracy. A hard shot that misses the mini goal isn’t better than a soft one that hits it — accuracy is what these drills are actually building.
Running back to the same spot after every shot. If you’ve set up more than one mini goal, shoot again from wherever the ball ends up instead of resetting every time — it keeps the session moving and closer to game speed.
A Simple Weekly Plan
Two or three sessions a week is enough to see steady improvement without it becoming repetitive.
Session 1: Basic Flat Shots on both feet, then Outside-of-the-Foot Shots.
Session 2: First-Time Shots Off a Wall Rebound, plus Control With One Foot, Shoot With the Other.
Session 3: A mix of everything, finishing with a block of Shots With Curve.
Progressing Further
Once flat shots feel consistent on both feet, increase the distance, shrink the gap between your markers, or add movement before the shot — a touch, a turn, or a short run-up — instead of shooting from a standstill every time.
FAQ
Do I need a real goal to practice shooting?
No. Two objects spaced apart to form a small target work well, and in some ways they’re better than a full-size goal, since they force more precision instead of just aiming anywhere between the posts.
What’s the hardest shot to practice alone?
For most people, it’s a half-volley off a bouncing ball — you have to time the strike instead of relying on power, and there’s very little margin for error. Curved shots are also difficult to groove without feedback, so expect that one to take longer than the others.
How do I avoid constantly chasing the ball?
Set up more than one target in different spots. That way, once you take a shot, you can pick up wherever the ball ends up and shoot toward the next goal instead of walking back to your starting point every time.